Installation Time
30 minutes or less for most installations
Skill Level
Beginner friendly - no special skills required
Tools Needed
Basic household tools - drill, level, screwdriver
Tools Required
Essential Tools
- Electric drill with bits
- Bubble level (2-4 feet recommended)
- Screwdriver (Phillips head)
- Measuring tape
- Pencil for marking
Optional Tools
- Stud finder (for wall installations)
- Masonry bits (for brick/stone walls)
- Safety glasses
- Work gloves
Wall Sign Installation (9.5" x 16")
Step 1: Choose the Perfect Location
Visibility is Key: Select a location that's clearly visible from the street and well-lit for emergency responders.
Optimal Height: Mount between 4-6 feet from ground level for best visibility. This puts the sign at eye level for most people.
Consider Lighting: Position where existing porch lights or street lamps will illuminate the impressive 3D relief lettering at night.
Avoid Obstacles: Ensure the sign won't be blocked by landscaping, decorations, or seasonal growth.

Step 2: Mark Mounting Points
Use Sign as Template: Hold the sign against the wall in your chosen location.
Check Level: Use a bubble level to ensure the sign is perfectly horizontal. The robust elegance design looks best when properly aligned.
Mark Screw Holes: Use a pencil to mark through the mounting holes onto the wall surface.
Double-Check Measurements: Step back and verify the position looks centered and appropriate for your home's architecture.
Step 3: Drill Pilot Holes
Select Correct Drill Bit:
- Wood Siding: Use 1/8" bit for pilot holes
- Vinyl Siding: Use 1/8" bit, drill slowly to prevent cracking
- Brick/Stone: Use masonry bit, start with smaller size
- Stucco: Use masonry bit, drill at low speed
Drilling Tips:
- Drill straight and perpendicular to the surface
- Use steady, moderate pressure
- Clear debris from holes before mounting
Step 4: Mount Your Sign
Position the Sign: Align the mounting holes with your pilot holes.
Insert Screws: Use the provided stainless steel screws. Start all screws by hand before tightening.
Tighten Gradually: Alternate between screws, tightening gradually to maintain level positioning.
Final Check: Ensure the sign is secure and level. The impressive 3D relief should cast even shadows.
Test Stability: Gently test that the sign is firmly attached and doesn't move.
Yard Sign Installation (13.5" x 19.5")
Step 1: Select Yard Location
Street Visibility: Choose a location clearly visible from the street in both directions.
Distance from House: Position 10-20 feet from your home's entrance for optimal visibility.
Avoid Utilities: Call 811 before digging to locate underground utilities. Stay clear of sprinkler systems.
Consider Maintenance: Position away from high-traffic areas and lawn mower paths.
Lighting Considerations: Place where street lights or landscape lighting will highlight the 3D relief lettering.

Step 2: Prepare the Ground
Clear the Area: Remove grass, weeds, and debris from a 2-foot square area.
Level the Ground: Ensure the area is reasonably level for proper sign positioning.
Test Soil Conditions: Push a stake into the ground to test soil firmness. Soft soil may need additional support.
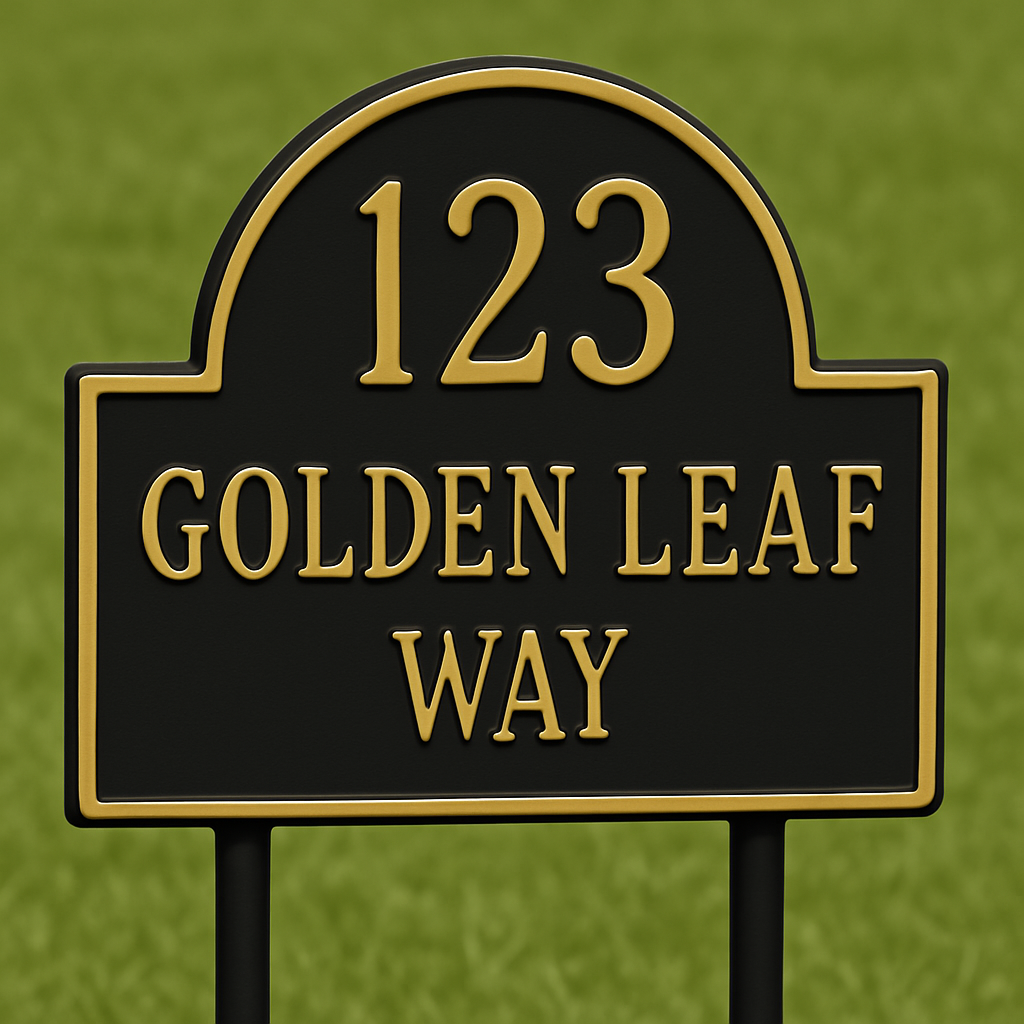
Mark Stake Positions: The two PVC stakes should be positioned to support the sign's mounting points.
Step 3: Install PVC Stakes
Position Stakes: Align the included PVC stakes with the sign's mounting holes.
Drive Stakes: Push or gently hammer stakes into the ground, leaving 12-14 inches above ground.
Check Alignment: Ensure stakes are parallel and properly spaced for the sign.
Test Stability: Stakes should be firm and not wobble when gently pushed.
Adjust Height: Stakes should be even and at the correct height for level sign mounting.
Step 4: Mount the Sign
Position Sign: Carefully place the cast stone sign onto the PVC stakes.
Check Level: Use a level to ensure the sign is horizontal. Adjust stake height if needed.
Secure Connection: Ensure the sign sits firmly on the stakes without wobbling.
Final Positioning: Step back and verify the sign is visible from the street and properly aligned.
Test Stability: Gently test that the installation is secure and weather-resistant.
Troubleshooting Common Issues
Sign Not Level
Problem: Sign appears crooked after installation.
Solution: Loosen screws slightly, adjust position using level, then retighten. For yard signs, adjust stake height.
Screws Won't Hold
Problem: Screws strip or don't grip properly.
Solution: Use wall anchors for hollow walls, or try slightly larger screws. For masonry, use appropriate masonry anchors.
Yard Stakes Loose
Problem: PVC stakes don't stay firm in ground.
Solution: Drive stakes deeper, or add concrete around stakes for permanent installation in soft soil.
Poor Visibility
Problem: Sign is hard to see from street.
Solution: Relocate to more visible position, trim obstructing vegetation, or add landscape lighting to highlight the 3D relief.
Maintenance & Care
The Beauty of Cast Stone: Zero Maintenance Required!
Unlike wood signs that need regular painting or metal signs that require rust treatment, your premium cast stone sign with impressive 3D relief lettering is designed for decades of maintenance-free beauty.
Cleaning (Optional)
Simply rinse with water or use mild soap for stubborn dirt. The 100% waterproof surface cleans easily and dries quickly.
Seasonal Care
No special seasonal care required. Cast stone withstands freeze-thaw cycles, UV exposure, and extreme weather without deterioration.
Long-Term Durability
Your sign is built to last 50+ years with no painting, sealing, or protective treatments needed. The robust elegance design maintains its beauty indefinitely.
Professional Installation Services
While most customers successfully install their signs in under 30 minutes, professional installation services are available in many areas.
When to Consider Professional Installation:
- Complex wall materials (natural stone, unusual siding)
- High or difficult-to-reach locations
- Multiple sign installations
- Preference for professional results
Contact local handyman services, sign installers, or reach out to us for professional installer recommendations in your area.
Ready to Install Your Premium Cast Stone Sign?
Transform your home's curb appeal with impressive 3D relief lettering and robust elegance design.